Recover Files From Local Drives
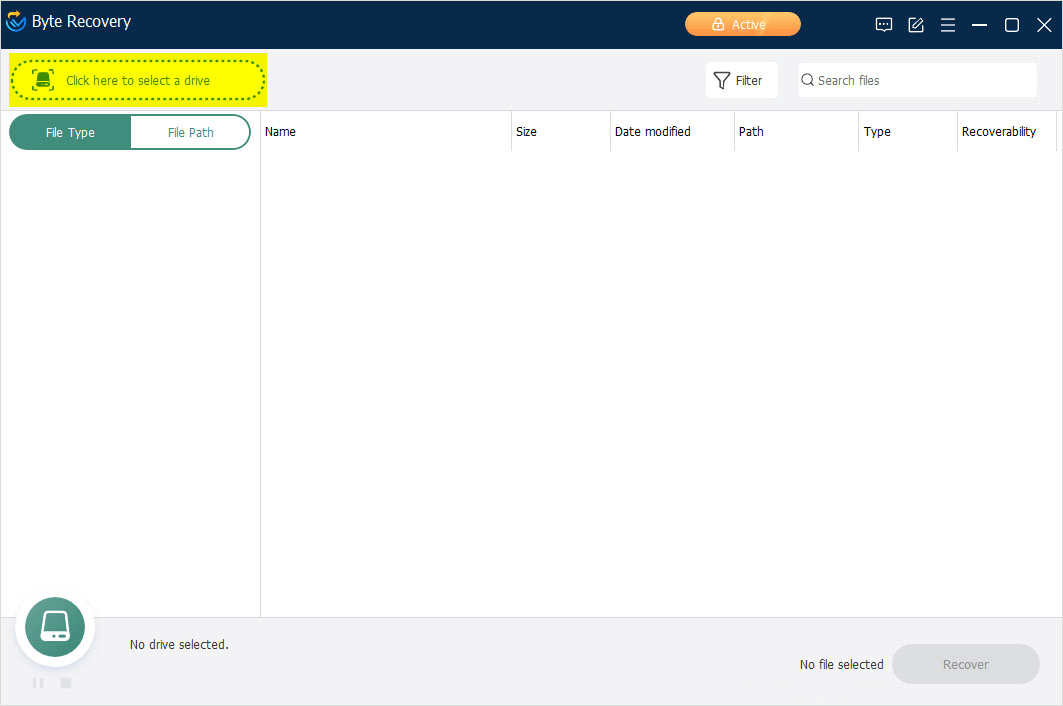
1. Select a drive.
After launching Byte Recovery, you can see a button ⌈ Click here to select a drive ⌋ in the upper left corner of the screen. Please click it and then you can select the specific drive where you have lost the data.
2. Scan the drive
Byte Recovery will start the comprehensive scanning automatically after you click the specific drive.
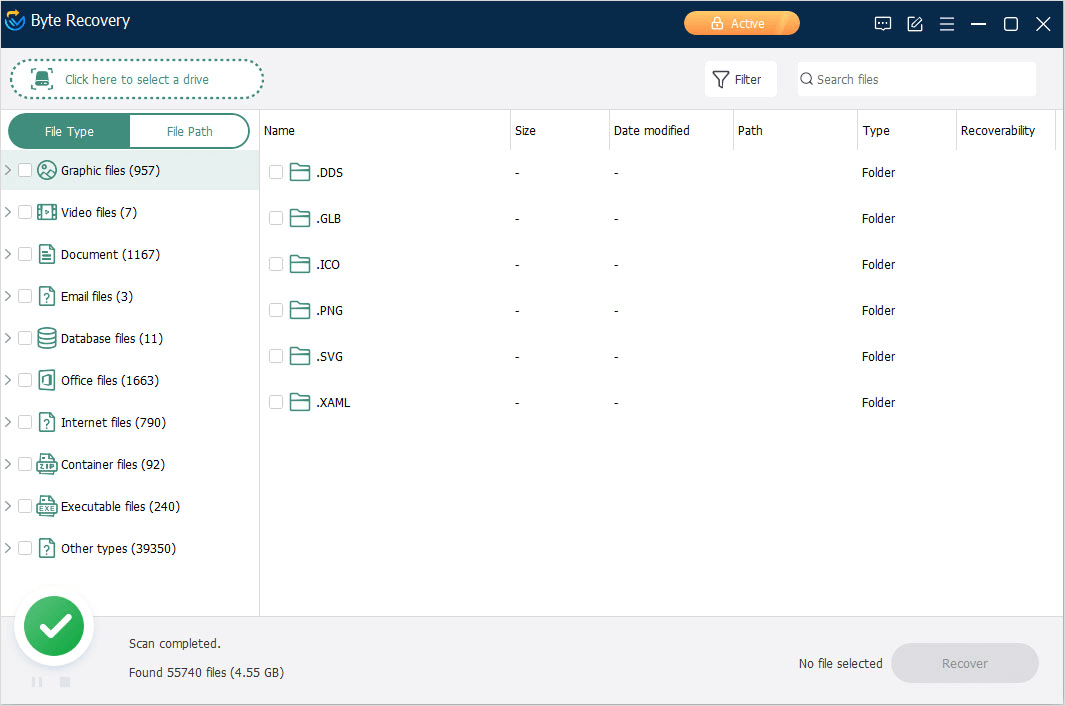
You can see the real-time scanning result through the progress graph in the lower left corner and clearly know that how long it will take to complete this scan.
And you can also pause and stop the scanning at any time by click button  (Pause) and
  (Stop).
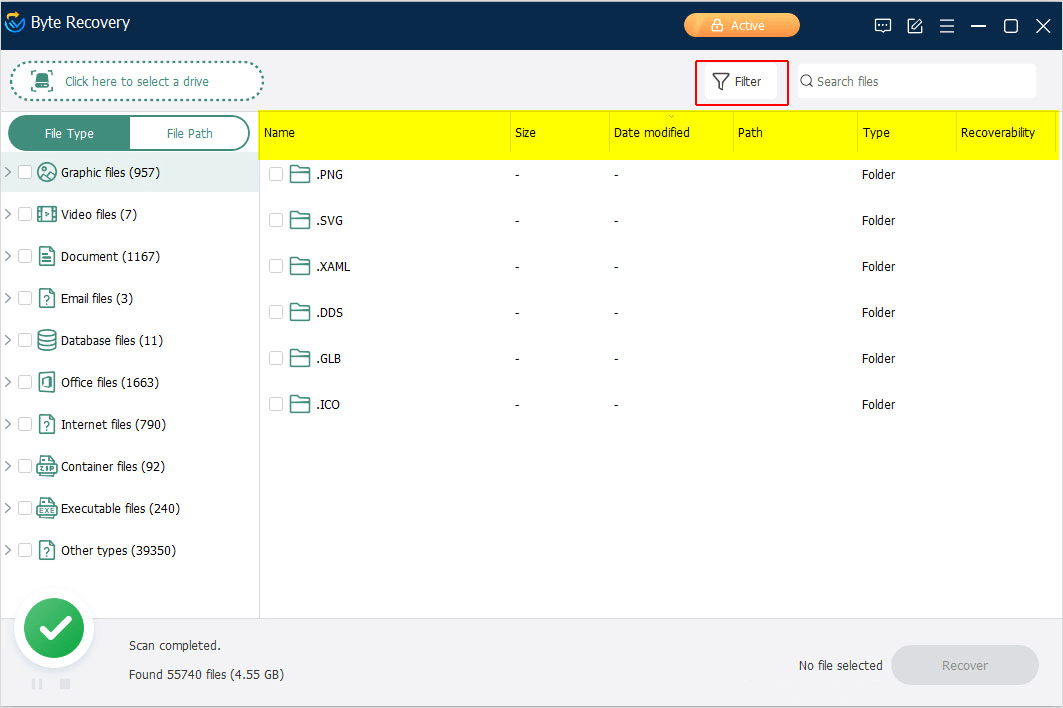
By the way, during and after the scanning, you can change the File Type, File Size and Date Modified to filter and select the files you want to recover. After you set the filter, Byte Recovery will load the results match to what you want.
Moreover, you can also directly search the keywords in the right-up box. Byte Recovery will recognize all the files related to the keywords.
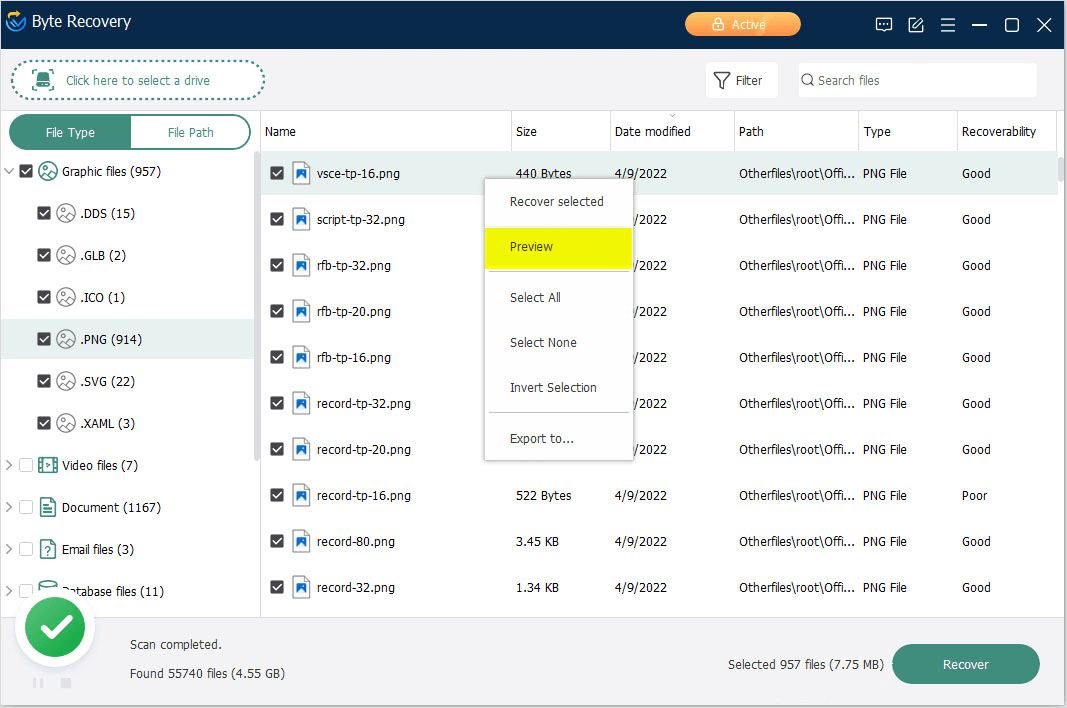
3. Preview and recover the files.
Byte Recovery allows you to preview the files before recovering them.
Preview files after scanning
Please select one of the recoverable file, right-click it and click Preview. Then you can see the content of this file. Or you can also double-click this file to preview it. Byte Recovery supports previewing almost all the common types of files, such as images, videos, audios, emails, documents and so on.
Recover files
After you preview the files and confirm that they are what you want to recover, you can directly click the Recover button to recover them. Or, you can select the files you want to restore, then click the button Recover in the lower-right corner, then choose a location to save the recovered files.

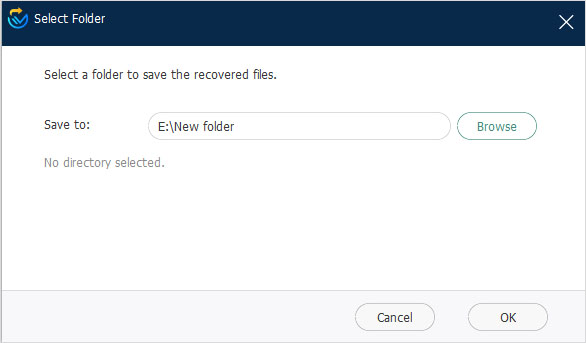
Please notice: Do not save the files to the drives where you deleted or lost the data.